Getting started with Rocento
Set up your store and verify a complete purchase.
On this page
Before you start
Have an administrator account, sample products, a store country and currency, and a delivery or pickup plan.
- Prepare SKUs, prices, categories, images and quantities.
- Identify stock locations and the default pool.
- Prepare branding, customer policies, delivery fees and tax settings.
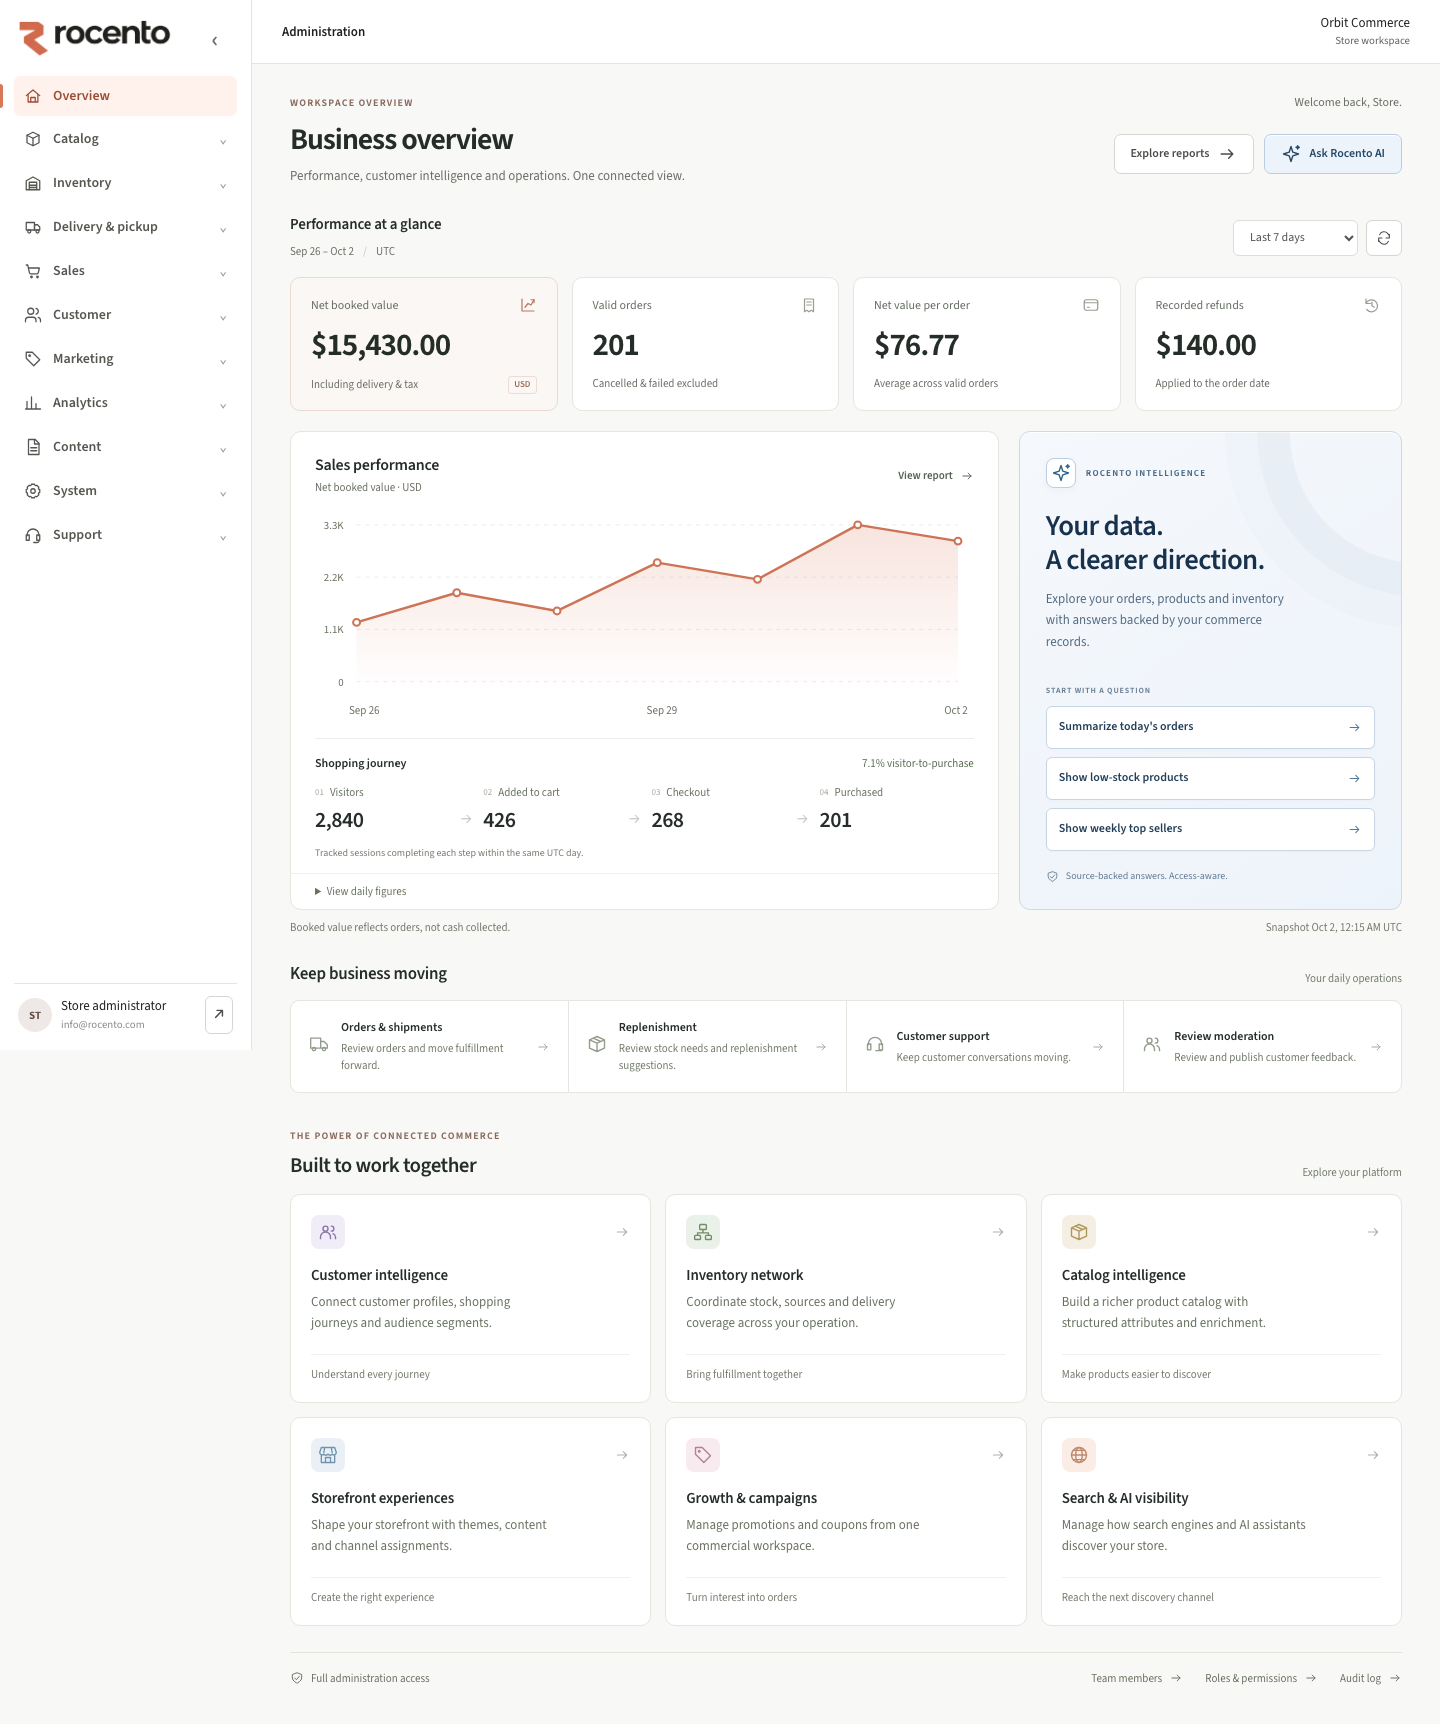
Set up in dependency order
- Review industry, country, currency and fulfillment defaults in System → Configuration.
- Create categories and a representative product in Catalog.
- Connect locations to stock pools and add product quantities.
- Configure coverage, pickup, schedules and capacity.
- Preview and publish themes, navigation and content; assign a published theme.
- Review checkout charges and visibility. Check assistant readiness before enabling it.
Verify the first customer journey
- Find an active, available product and add it to the cart.
- Select an eligible address or pickup location.
- Review amounts and timing, then place a test order.
- Find the order in Sales → Orders; verify inventory and capacity.